Donor Management System
Overview
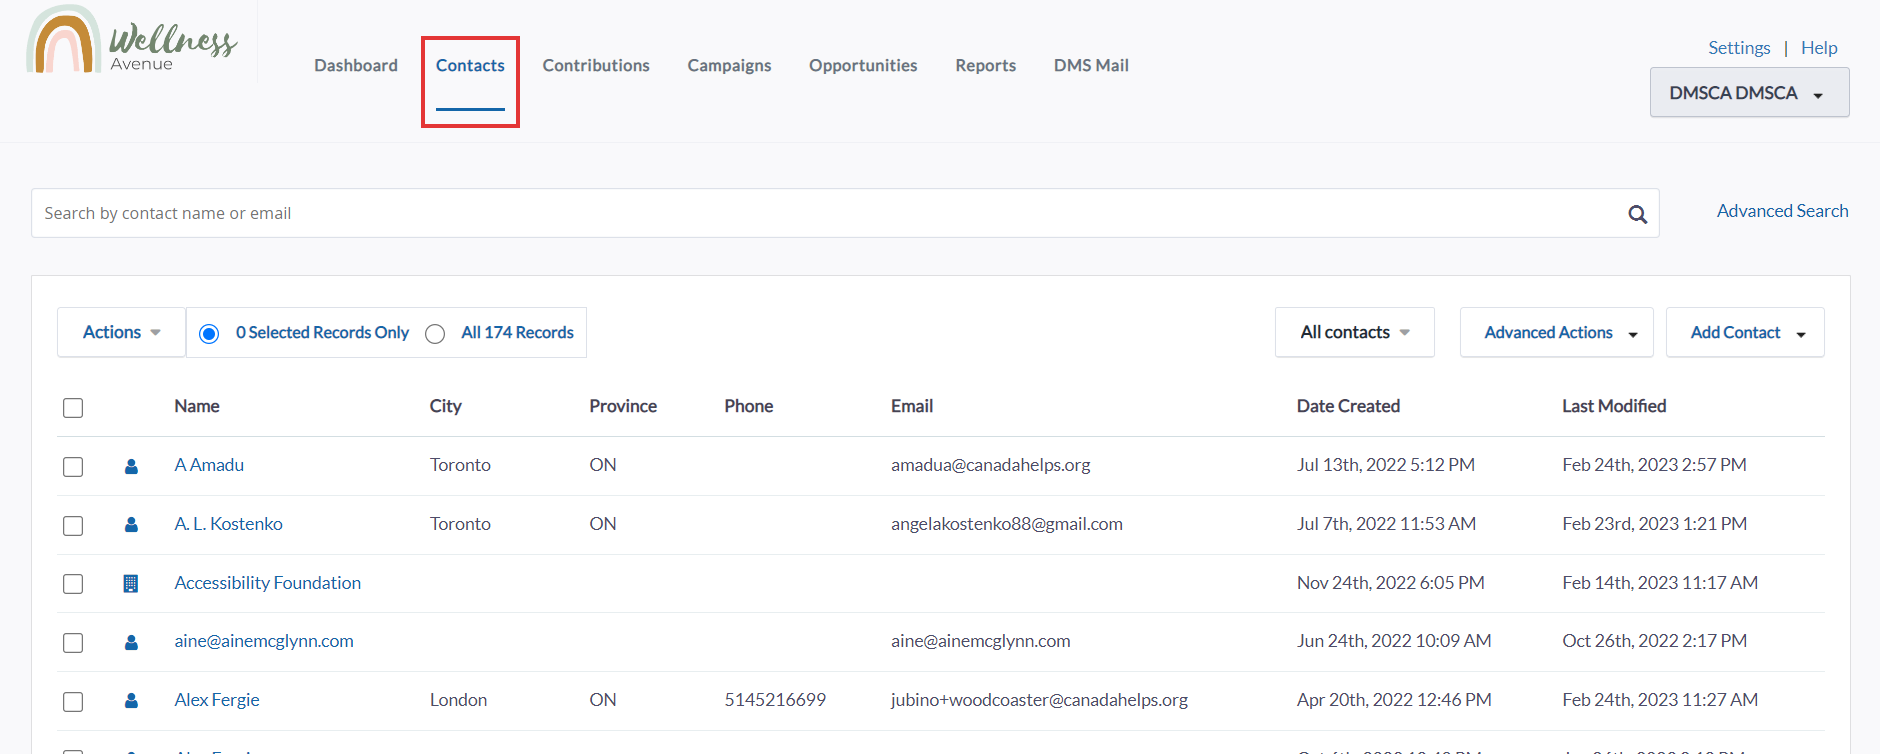
- By selecting Contacts in the Main Menu, you will be directed to the Contacts Tab.
- The main screen of the Contacts Tab presents a list of every Contact record in your DMS with basic information about each Contact.
- Contacts are sorted alphabetically by the first name (or organization name) of each Contact.
- To access a Contact Profile, click on the name of the Contact.
- You can also add a Contact from this Tab by selecting Add Contact in the top right corner.
 Contacts Tab

Contacts List Columns
- Name: Contact’s first and last names (for Individuals) and organization name (for Organizations).
- City: the city the Contact resides in.
- Province: the province the Contact resides in.
- Phone: Contact’s main phone number.
- Note: at the moment, only phone numbers provided through Custom Donation Forms for one-time gifts sync into the DMS
- Date Created: the date the Contact was created.
- Last Modified: the date the Contact record was last modified.
Rows
 Default number of Rows
- The default number of Rows displayed on the Contacts Tab is set to 50.
- To adjust the number of Rows of Contacts displayed in the list view, scroll to the bottom of the page and press the “up” or “down” arrows on the box that is labelled Rows.
- To the right of the box labelled Rows are the number of pages of rows, the total number of Contacts in your DMS, as well as the ability to navigate to the next page list view.
- To navigate to the next page of Contacts, click the arrow pointing right on the far right side of the page. Click on the arrow pointing left to go back to the previous page.
Contact Types
- There are three default types of Contacts in the DMS: (1) Individuals, (2) Organizations (3) Households (legacy feature).
- To the left of the Contact Name, you’ll see 3 icons representing the different Contact Types.
 Contact types
- If you hover your mouse cursor over one of these icons, you can see more details for the specific Contact.
 Hover over an icon for more details
- To filter your list view by Contact Type, select All Contacts on the top right corner of the screen, and then select your desired Contact Type.
 Filter Contact list view
- Beyond the default Contact Types, you can also add new, additional Contact Types.
---> Learn more about adding additional Contact Types in your DMS
Actions
- There are many Actions you can perform from the Contacts Tab to one or more Contacts.
- The available Actions include adding Contacts to Groups, applying or removing Tags, sending emails, exporting Contacts and more.
Performing an Action
1. To perform an Action, select specific Contacts (by checking the boxes on the left) or select all listed Contacts on the page (top checkbox)
2. Once you have selected the Contact(s), press the Actions button on the top left corner of the page
 Select Contacts and Actions
3. Select the Actions button to view a dropdown menu of available Actions. If there is a particular Action you wish to take, you can find it by scrolling the list or typing its name into the search bar.
 Scroll/search for a preferred action
Common Actions
- Export Contacts: exports selected Contacts to a .csv format
- Group – Create Smart Group: create a Smart Group based on your search criteria
- Issue Annual Tax Receipts: issue an annual tax receipt via email and/or PDF format
- Send Email: send a single email to one of your Contacts
Advanced Actions
- In addition to the Actions listed above, the Contacts Tab has additional Advanced Actions.
- To access these Advanced Actions, click on Advanced Actions next to All Contacts.
 Advanced Actions
All Advanced Actions
- Merge Duplicate Individuals: merge duplicated individuals from the selected Contacts.
- Merge Duplicate Organizations: merge duplicated organizations from the selected Contacts.
- Manage Groups: see and manage a list of all Groups & Smart Groups.