Before issuing your first tax receipt, make sure you've had the chance to customize the following tax receipt related settings:
- Configure your Tax Receipt Settings
- Customize the Default Tax Receipt Thank-You Note
- Customize the Default Tax Receipt Email Message
Consideration
- Contacts with no mailing address (1) and already receipted Donations (2) are not eligible for Receipting. Before issuing these receipts, you have to update your Contact (1) and issue a corrected Tax Receipt (2).
- The Archive Email address you’ve configured in the Tax Receipt setting page will always receive a copy of the tax receipt issued.
- Only one aggregate/annual tax receipt can be issued per donor, per year. If you void the receipt or record any other Donations for a donor after issuing their aggregate receipt, those Donations must be receipted one at a time or each indvidiual donations can be selected together and issued as an aggregated receipt.
Issue an individual tax receipt
1. Go to the Donation tab.
2. Use the search bar to find and select the donation you’d like to issue a tax receipt for.
3. On the donation details page, click on the Issue tax receipt button on the top-right of the screen.

4. In the Receipt Details window, choose your preferred Delivery method, then click on Issue receipt to generate the tax receipt.

5. If you select the Print (Download) option, you'll be prompted to choose a location on your computer to save the tax receipt PDF.
Bulk issue from the Donations tab
1. Go to the Donations tab.
2. Select the checkboxes for donations you want to issue receipts for.
3. From the Bulk Actions dropdown menu, choose Issue individual receipts.

4. Donations eligible for a tax receipt will show a green checkmark in the Eligibility column.
5. Click on the Issue receipts button at the bottom right.Note: To see why a donation is ineligible, click the Non-eligible tab. |

6. In the Receipt details window, choose your preferred Delivery method and click Issue receipts again to finalize.

7. If you select the Print (Download) delivery method, you'll be prompted to choose a location on your computer to save the tax receipt PDF.
Issue aggregate/annual tax receipts
1. Go to the Donations tab.
2. Select the checkboxes next to all donations you wish to issue aggregate receipts for.
3. From the Bulk Actions dropdown menu, choose Issue aggregate receipts.

4. Donations eligible for a tax receipt will display a green checkmark under the Eligibility column.
5. Choose the tax year for which you want to issue the receipt(s).
6. Click on Issue receipts at the bottom right of the screen.

7. In the Receipt details screen, select the desired Delivery method and click on Issue receipts again to complete the process.

8. If you select the Print (Download) delivery method, you'll be prompted to choose a location on your computer to save the tax receipt PDF.
Additional Information:
- The tax receipt(s) will download inside a ZIP file.
- The total donation amount will show as an aggregated sum for all selected donations.
- In the Supplemental Information section of the receipt, a breakdown of the individual donations including the donation date and amount will be listed.
Issue a Corrected Receipt
If a tax receipt has already been issued for a donation, but a correction needs to be made (e.g. changing the donation amount or adding a non-taxable amount), the existing tax receipt will need to be voided.
1. Go to the Donations tab.
2. Use the search bar to find and select the donation that needs to be corrected.
3. On the donation details page, click on Edit to update the donation amount (e.g., change from $350 to $300).
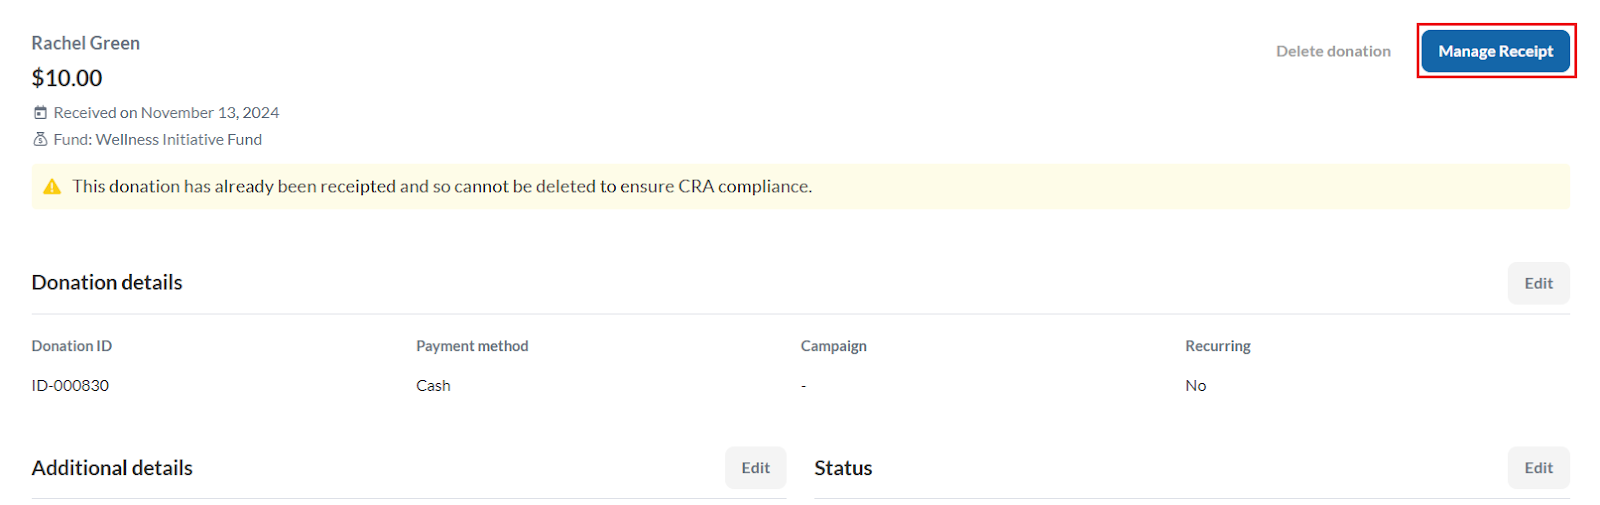
4. After making the correction, click on Manage Receipt in the top-right corner.

5. In the Manage tax receipt window, select Void receipt and confirm.

6. Once the old receipt is voided, click on Replace Receipt to generate a new receipt that reflects the changes.

Note: The Cancelled receipt number field will appear, and the receipt status will show as Voided until the new receipt is issued. |
7. On the donation details page, you’ll now see both the cancelled and new receipt numbers listed.

Issue a French tax receipt
The language of the tax receipt (English or French) is determined by the contact's preferred language.
To issue a tax receipt in French, please ensure the contact's language preference is set to French before generating the receipt.
If you need to reissue an existing English receipt in French, the English receipt will need to be voided first. Follow these steps:
1. Go to the Contacts tab.
2. Use the search bar to locate and select the contact whose receipt needs to be reissued.
3. On the contact's profile page, click on the Profile tab. From there, update the contact's Language Preference to French by clicking on Edit.

4. While still on the contact's profile page, click on the Donations tab and click on the donation you want to reissue the receipt for.

5. Click on Manage Receipt and select Void to cancel the existing English receipt.
 Select Manage receipt
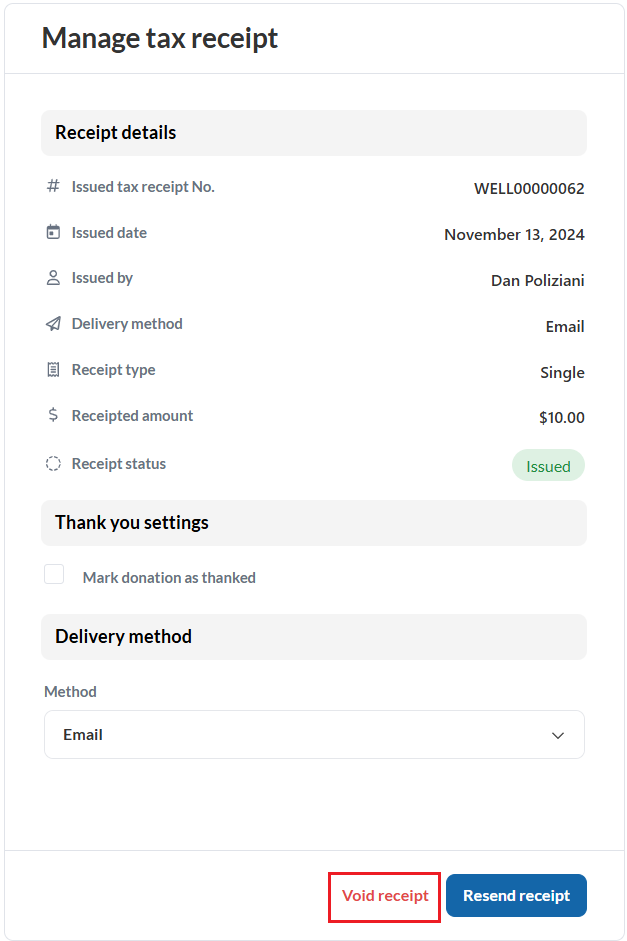 Select Void receipt
6. In the Manage tax receipt window, click on Replace Receipt. The new receipt will be automatically generated in French, based on the contact's updated language preference.
