Donor Management System
You may have multiple emails that you would like to connect to your DMS so that you can send communications to your donors from a variety of email addresses. In this case, you'll need to add an additional From Email Address to your DMS and verify it through our email partner, SendGrid.
As a reminder, any DMS From Email (outbound email) is donor-facing, meaning that it will display when issuing Tax Receipts by Email and other email communications (i.e. Thanking your Donor and Bulk Emails).
Note: Before reading on, make sure that you've first completed the steps to verifying your initial DMS From Email
Have more questions about the DMS From Email? Check out our FAQ!
Login to Your SendGrid Account
As a reminder, in the first few days of your Onboarding, you will have received SendGrid credentials via email from your Onboarding Specialist or a noreply@canadahelps.org email address.
If you don't have these credentials:
- Please reach out to your onboarding expert if you are still in the onboarding period,
- Or if you have completed your onboarding, contact our Support Team at info@canadahelps.org and so we can provide you with these credentials.
1. Begin by visiting SendGrid and logging in using the SendGrid credentials provided in your original SendGrid
 Log in with username and password
2. If you had previously set up Two-Factor Authentication on your account, a code will be sent via SMS to the phone number associated with your SendGrid account.
3. Enter this code as prompted and skip to Step 2.
 Enter code as prompted
Note: If you had not set up Two-Factor Authentication previously, you'll need to set this up for added security.
Enable Two-Factor Authentication
1. An email will be sent to your original (first) DMS From Email
2. Select the Set Up Two-Factor Authentication button in the email to begin the process
 Select "Set Up Two-Factor Authentication"
3. On the new page, select text messages (SMS) as the means of authentication. Then, enter your country code and the telephone number of a mobile phone you have regular access to.
 Select Text Message (SMS)
 Add your Mobile Phone Number
4. You'll receive a text message (SMS) to that number containing a code which you can enter on the screen when prompted.
 Input your Authentication code
5. You'll then be prompted to Log In to SendGrid one more time using the username and password provided in the first email from CanadaHelps.
Note: going forward, you'll be required to use Two-Factor Authentication (entering the code provided via SMS) each time you login.
Add Single Sender and Verify Email Address
Once you're logged into SendGrid, you can add your desired additional From Email, which will trigger a verification email to complete the email verification process.
1. From the SendGrid home page, navigate to Settings
 Select Settings
2. Select Sender Authentication
 Select Sender Authentication
3. On the next page, you'll notice your first verified DMS From Email. Select Verify a Single Sender to add a new from email
 Select Verify Single Sender
4. On the next page, enter the details of the additional email you'd like to add to your DMS, and select Create
 Enter your additional email details
5. You'll see the below confirmation page and a notice that a verification email sent has been sent to the new address:
 Sender created success page
6. In the verification email sent to your new address, select Verify Single Sender
 Select Verify Singer Sender
7. You'll then be directed back to SendGrid, where you'll see a message confirming that the sender identity for the new email address has been successfully verified.
 This message confirms the email verification is complete
Add Your Newly Verified Email Address in the DMS
The final step in activating your secondary From Email Address is to add this newly-verified email address into your DMS.
1. Login to your DMS and head to your administrative Settings
2. Under DMS Mail, select From Email Addresses
 Settings > From Email Addresses
3. On the next page, you'll see your main DMS From Email that has been configured for you. Do not modify the existing From Email.
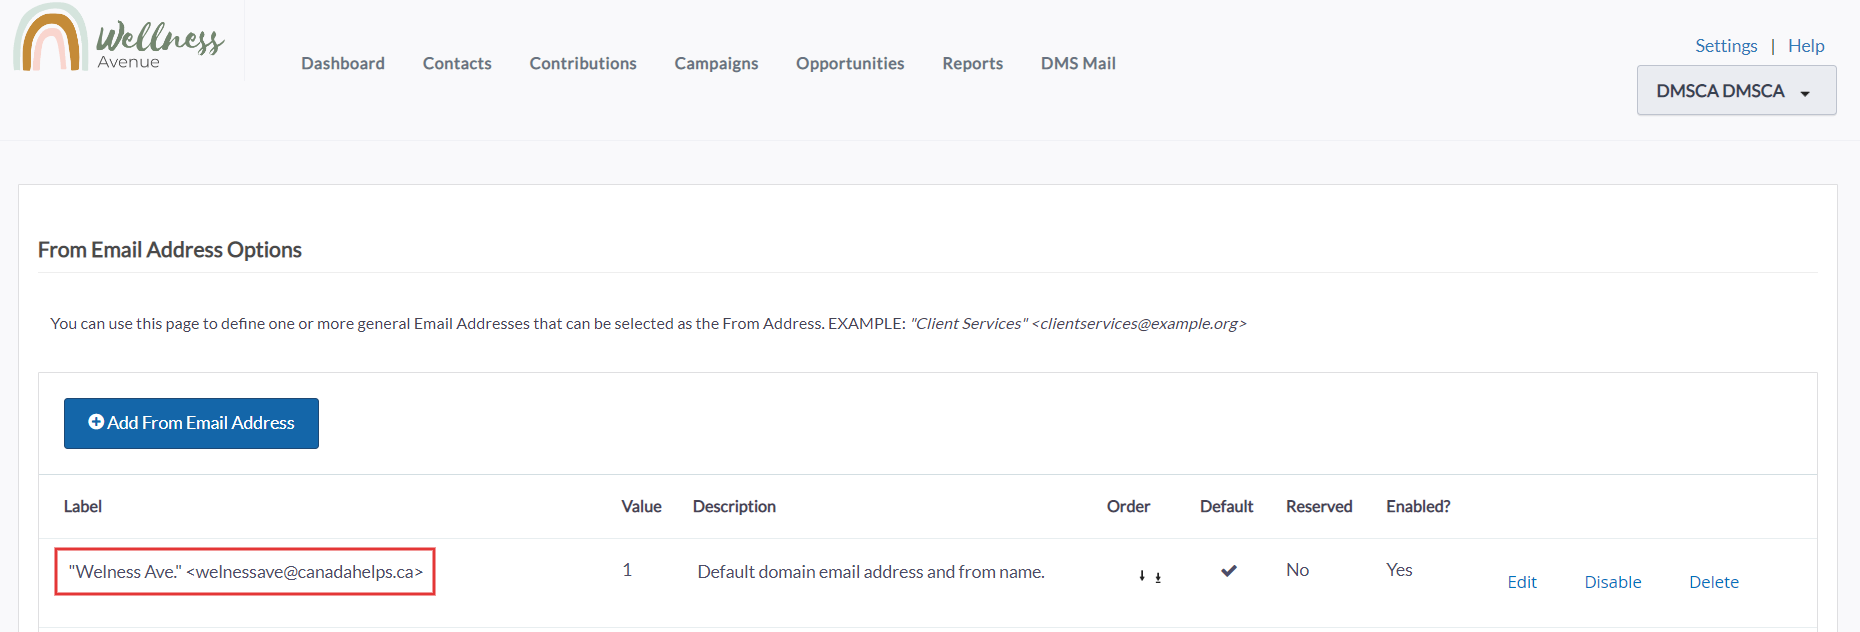 Please don't modify your default From email address
4. Instead, select Add From Email Address
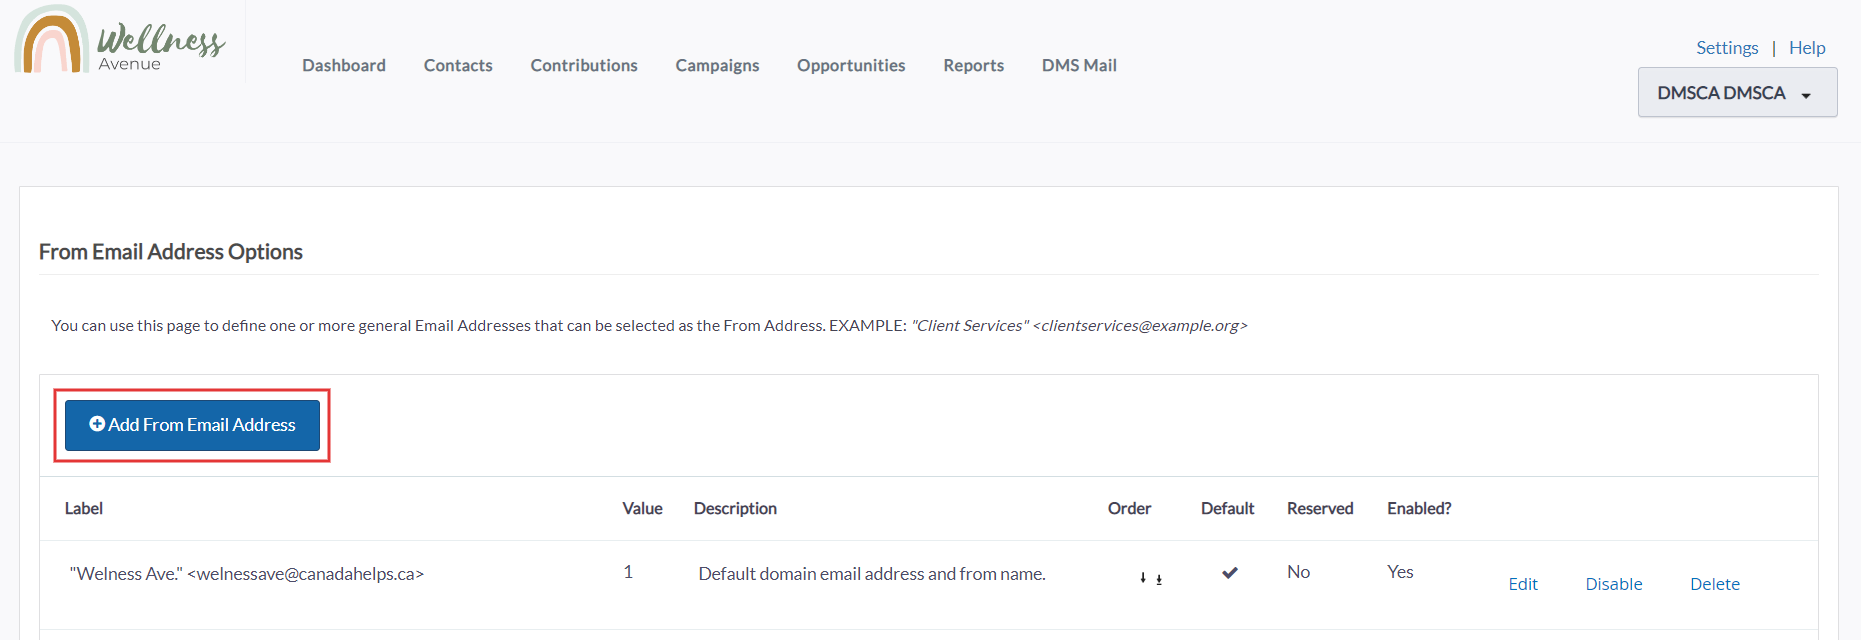 Select Add From Email Address
5. Under FROM Email Address, add your desired additional From Name & Email Address with the following format:
"New Name"<info@charityname.ca>
 Format your new From Email name and existing address
- a: Your additional desired from name. The name must be within quotation marks
- b: Your additional desired from email. The address must be within < and >
6. Leave all the other fields intact and once you’re done, select Save at the bottom right.
Need a little more support? Don't worry!
Your Onboarding Expert will make sure everything is set up for success during your Configuration call.
Or, if you've completed your DMS Onboarding, contact our Support Team at info@canadahelps.org.
What's Next?
You'll now have multiple email addresses to choose from when when communicating with your donors through the DMS. Try it out by sending them a Single Email or Bulk Email!