Donor Management System
If your organization has received many of the same or similar offline Contributions from a small to a medium number of donors, you can use the Batch Data Entry tool to easily add all these Contributions at once.
For example, if 10 donors have each sent in $10.00 as part of your school supplies package gift guide, you can use the Batch Data Entry tool to speed up the manual recording of these gifts in your DMS. You can also Save incomplete Batches of data as a draft and edit Data Entry Batches at your convenience.
Considerations
- The DMS Batch Entry tool represents a slightly more manual input of information from your charity. For this reason, we often recommend it for recording a small to a medium number of donations. That said, you can use the Batch Entry tool to add as many as 100 Contributions at once.
Accessing the Batch Data Entry Tool
1. Visit the Contributions tab
2. Under Advanced Actions, select Batch Data Entry from the menu
 Hover over Advanced Actions to view Batch Data Entry
3. You will be directed to the Batch Data Entry Page where you can:
- Add a New Data Entry Batch: begin the process of creating a new Data Entry Batch by selecting the New Data Entry Batch button.
- Browse or search a pending Data Entry Batches: the DMS keeps a record of all started and pending Data Entry Batches that can either be browsed or searched on the page. You can’t see completed Batches at this time on this page, however, you can see them by filtering Reports.
Performing a Batch Data Entry
1. Select the New Data Entry Batch button at the top left corner of the screen
 New Data Entry Batch
2. On the next page, enter your Batch Data Entry's initial information, and select the Save.
- Batch Name: this field can be edited but will be prefilled with the sequential order of the Batch that is being created and the current date.
- Type: the only selection at this moment is Contribution. We will be introducing new options in the future.
- Description: provides more details regarding your Batch.
- Number of Items: the number of Contributions/transactions your Batch Data Entry contains. The DMS uses this to generate the proper number of rows.
- Total Amount: the total value of the Bath Data Entry (e.g.: if you’ve received 10 donations of $10 each, insert $100 in total)
 Initial details for Batch
3. On the next screen, fill out the necessary information for each individual Contribution.
Tip: if you have many repeated values (e.g., all Contributions assigned to the same Campaign), you can select the “two pieces of paper” icon next to a column’s name to copy the value in the first row to all subsequent rows in that column.
 Batch Data Entry Details
- Contact: add an existing Contact in the DMS or add a brand new one.
- Received: defaults to your current date and time but can be edited.
- Campaign: which Campaign the Contribution is associated with.
- Fund: which Fund the Contribution is associated with.
- Amount: the Contribution’s monetary value. The $ amount can be entered with or without decimals.
- Payment Method: the payment method utilized in the transaction.
- Status: defaults to Complete but this can be edited.
- Cheque Number: optional for further segmentation.
- External Transaction ID: optional for further segmentation.
- Contribution Source: the source associated with the Contribution when it was originally imported into the DMS
- For Contribution Source, we recommend labelling each contribution added through Batch Data Entry as DMS Manual, so that you can perform effective Advanced Searches on your Contributions.
- For Contribution Source, we recommend labelling each contribution added through Batch Data Entry as DMS Manual, so that you can perform effective Advanced Searches on your Contributions.
- Note: optional details.
- Contribution Receipted: mark the selected contribution/s as already tax-receipted (e.g., because a tax receipt has already been issued outside of the DMS)
- Exclude from Tax Receipting: mark the selected contribution/s as ineligible to receive a tax receipt via the DMS
- Recurring: mark the selected contribution/s as recurring (Note: this is simply a label and will not automatically process/record new, subsequent Contributions)
4. After adding all the necessary information, select Validate & Process The Batch at the bottom of your screen to add all the Contributions to their corresponding Contacts, or select Save & Continue Later.
Searching by Completed Data Batches
Once done, you can see any of your completed Batch Data Entries when pulling specific Reports in your DMS.
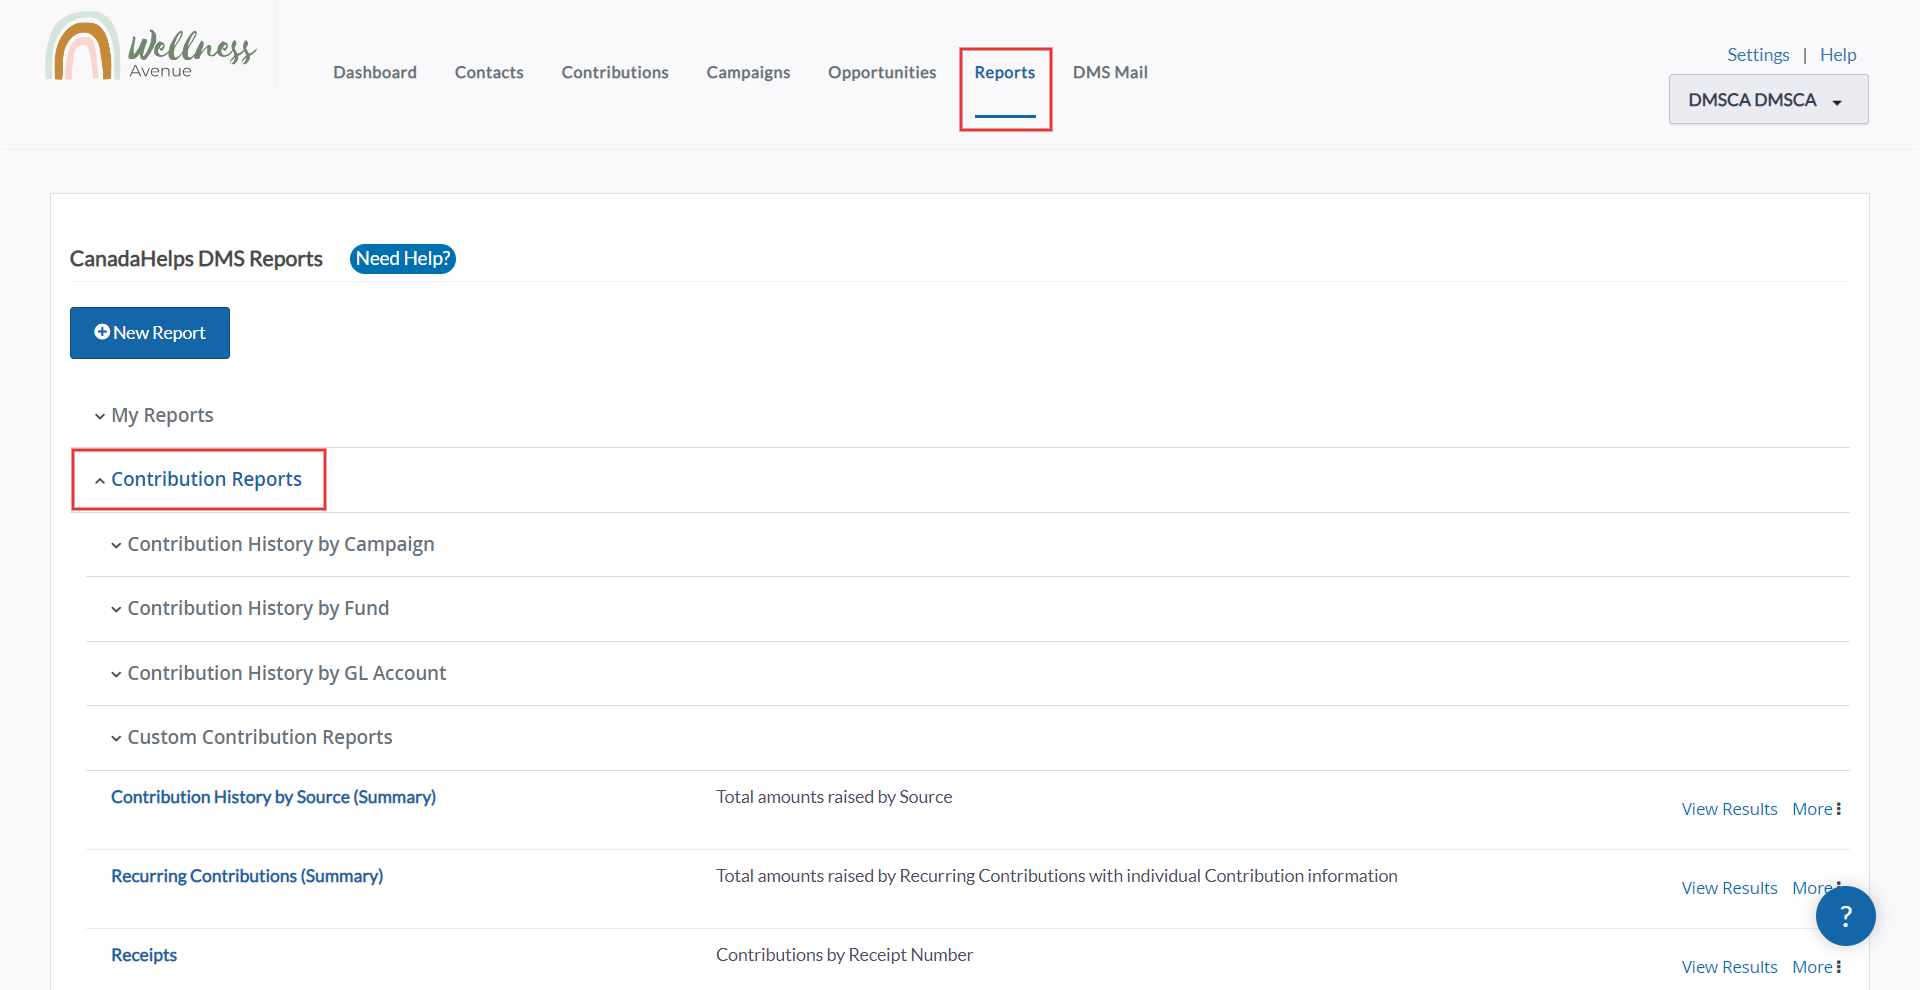
1. Visit the Reports Tab and expand the full list of your Contribution Reports
 Select from one of many available Contributions Reports
2. Some Contribution Reports we recommend to filter by Batch name are:
- Contribution History by Campaign (Detailed)
- Contribution History by Fund (Detailed)
- Receipts
- Contributions for Bookkeeping (Detailed)
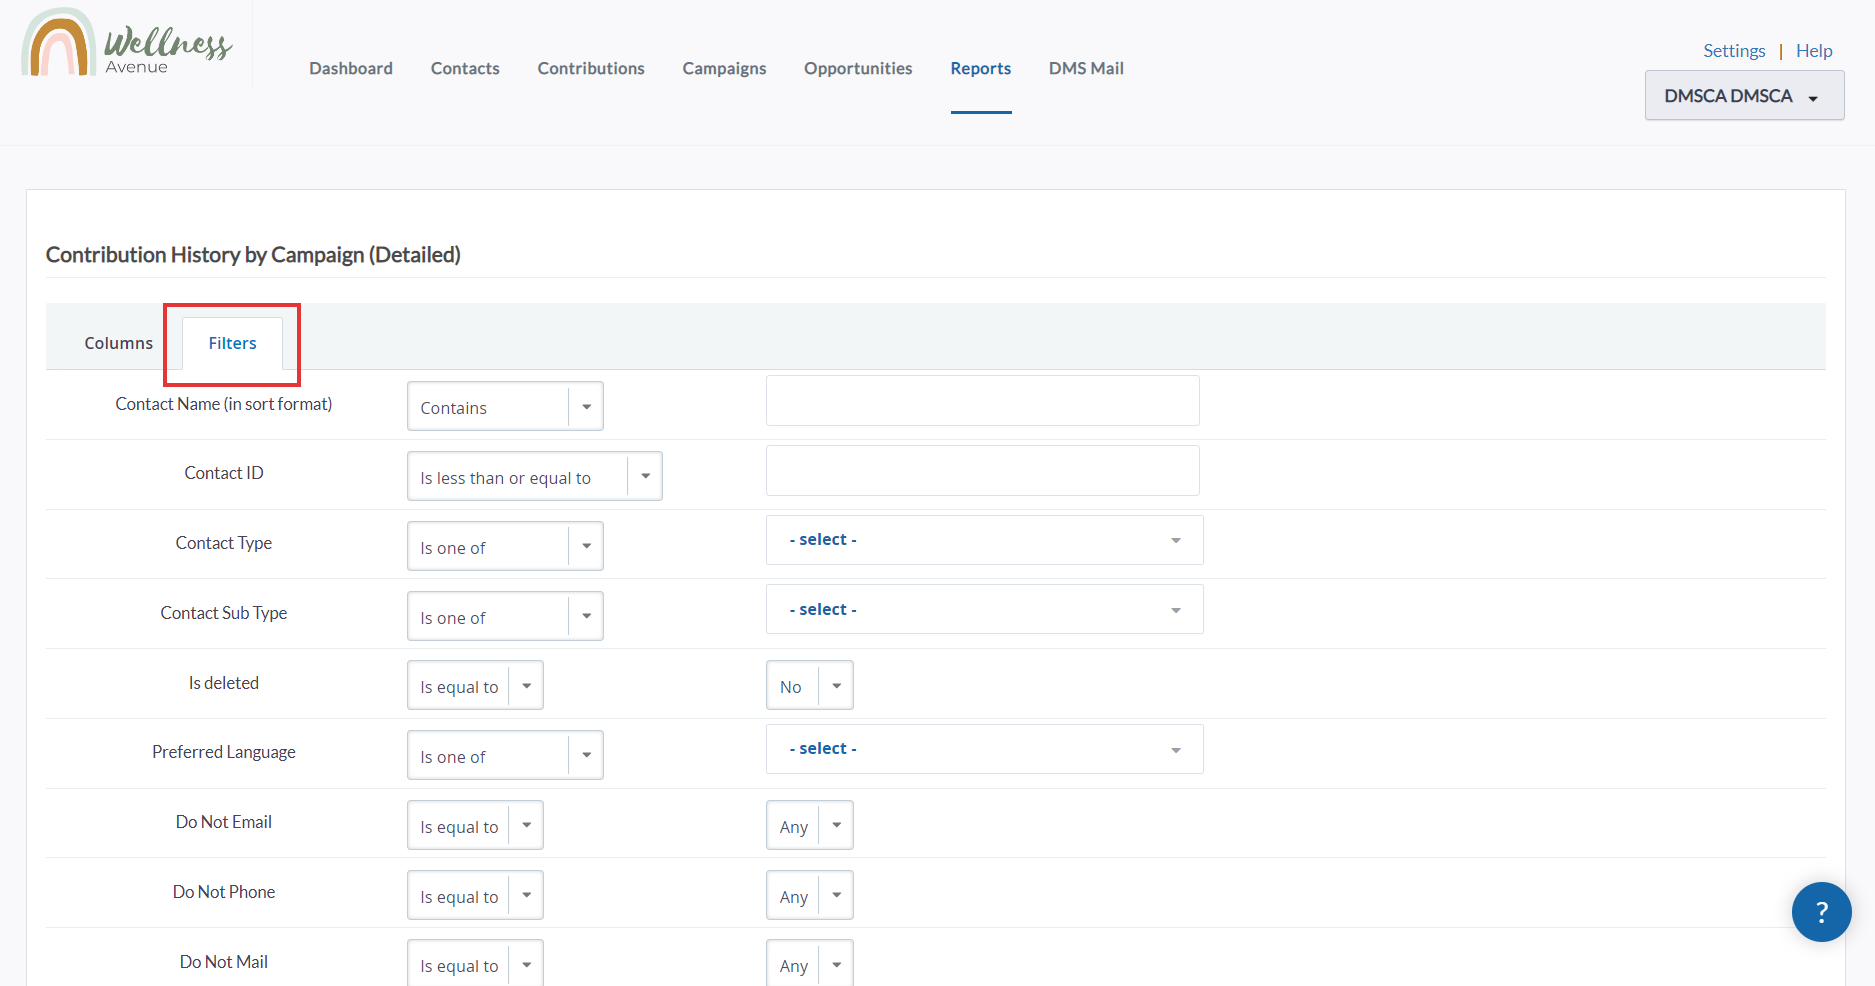
3. Once you've selected your desired Report, select the Filters tab
 Reports filters
4. Scroll down and filter your Report by Batch Name. You'll be able to choose from among your completed Batches in this field.
 Filter by completed Batch Data Entry
5. You'll then be able to see a report of the Contributions comprising your selected Batch Data Entry.
 Contributions included in your selected Batch Data Entry, sorted by Campaign