Donor Management System
Want to learn more about this feature?
The DMS has standard and customizable reporting features to segment your searches for Contributions, Contacts, and Opportunities.
This article will cover how you can view total contribution amounts for each of your donors within a certain date range or segment your Top Donors within a certain date range (i.e. donors who donated a minimum specific amount) by generating a Repeat Contributions Report. This is a great way to track the frequency of your donors' donation histories in order to make data-driven decisions and send targeted email marketing campaigns via Bulk Email to help manage those relationships.
Considerations
As with all Reports, the columns and filters for this report can be customized.
The purpose of a column is to display additional data in your custom Report, allowing you to see data that otherwise wouldn't have been available in your default Contacts or Contributions tabs.
The purpose of a filter is to narrow down results.
A fantastic use for this report would be to add those donors to an existing Group for a Bulk Email.
Reporting on total contribution amounts per donor for a set date range
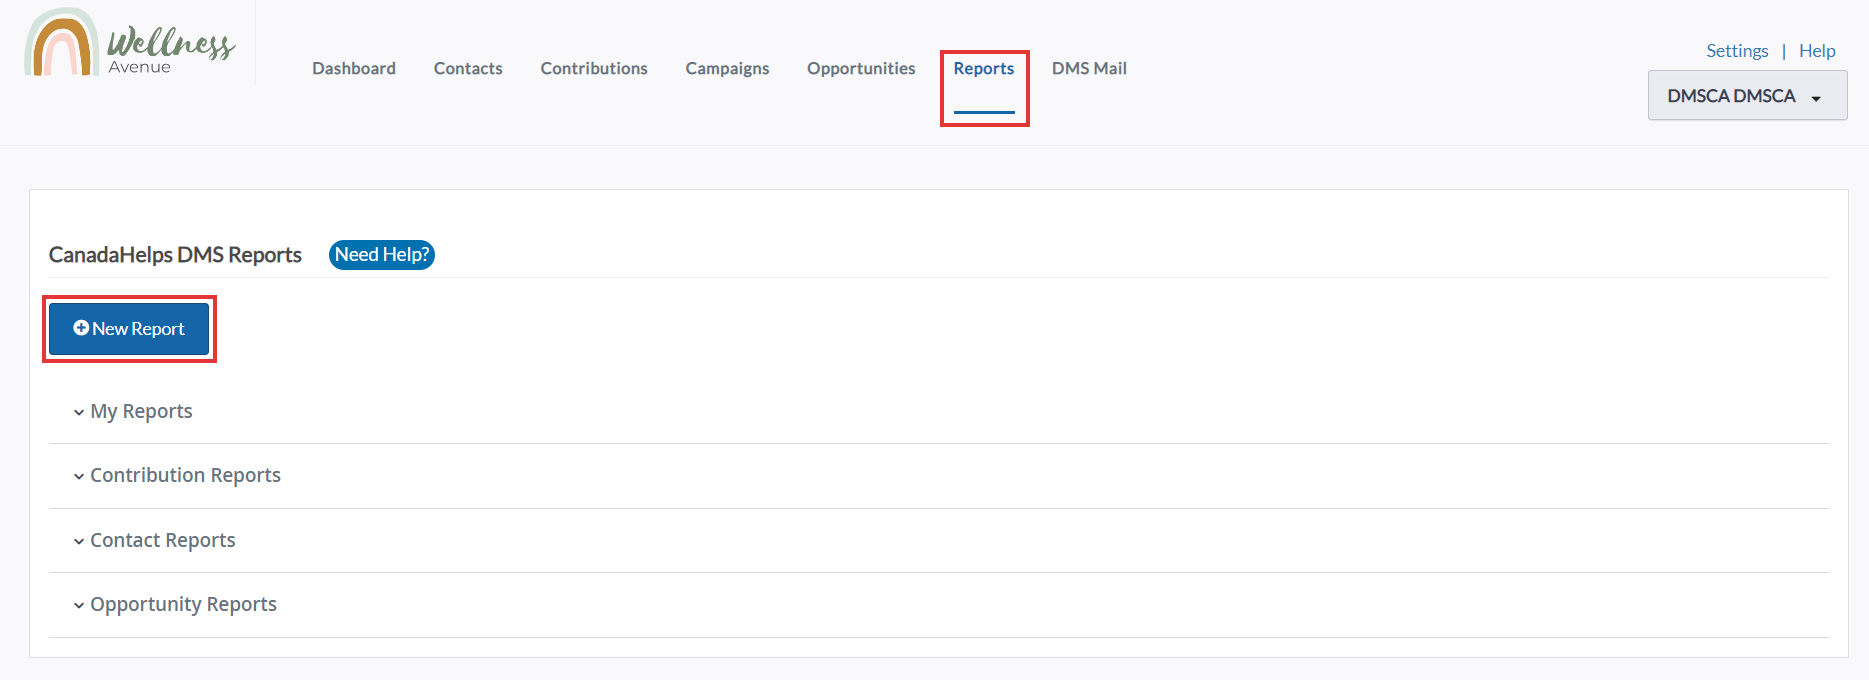
1. Visit your Reports Tab
2. Select New Report
 New Report
4. Expand the Contribution Report Templates to view the expanded list of Report options. Then, under General Contribution Reports, select the Repeat Contributions Template
 Repeat Contributions Template
Important: The default settings in the Repeat Contributions template pulls in all donors from the previous calendar year and the current calendar year. To view this report without customizing further, simply select the blue View Results button within the Report. Repeat Contributions Report with no additional customization
8. You can now customize your Report with:
In the example below, we will be generating a Report on donors who have contributed over $1500 in the previous calendar year. First, select Filters and scroll down
 Select Filters
9. To see your Last Calendar Year’s contributions, scroll down and set any 2 date ranges to compare in the Initial Date Range and Second Date Range drop-down menu.  Select Previous calendar year and This calendar year from the drop-down menu
Important: The default settings in the Repeat Contributions template pulls in all donors from the previous calendar year and the current calendar year. To view this report without customizing further, simply select the blue View Results button within the Report.
10. To generate a Report on donors who have contributed over $1500 in the previous calendar year, we must also apply a filter in the Range One Amount field.
Select “is greater than or equal to” from the drop-down menu. Now you can input the minimum contribution amount you would like to see generated in your report (i.e. 1500). Recall that the Initial Date Range is set as "Previous calendar year". By applying a Range One Amount filter, we will restrict the results in the Report to only display donors who have contributions greater than or equal to $1500 over the previous calendar year. Select "Is greater than or equal to" from the drop-down menu and add a minimum contribution amount
Note: The Initital Date Range filter is linked to the Range One Amount filter. The Second Date Range filter is linked to the Range Two Amount filter. Utilize both the Range One Amount and Range Two Amount filters to narrow down your results further to include only Repeat Donors across the 2 date ranges.
11. Go to Columns and select additional details to display, such as Contact Name, Street Address and Email then click View Results
 Select Contact Name, Street Address and Email
12. Now you can see your contacts who contributed over your specified amount (i.e. $1500) and the number of donations within that selected time frame.
What's Next?
- With this list of top tier donors who have contributed over $1500 in the previous calendar year, we can add these Contacts to an existing Group and then communicate with the Group in bulk:
 Add Contacts to an existing Group
If your Group does not yet exist, build a blank Group so that these Contacts can be added.
Creating a Blank Group
A blank contact group is a Group without any contacts in it.
From the Manage Groups Page
1. Go to the Contacts Tab
2. Select Advanced Actions on the top right corner of the screen and then Manage Groups
3. You will be directed to the Manage Groups Page. Select the Add Group button on either top or bottom of the page
4. A New Group popup will show up with the following information:
 Give your blank Group a title and descriptionFields:
- Group Title: the name of the Group.
- Group Description: optional description of the Group.
- Public Group Title/Description: Use an alternative title and description that will display to your donors while unsubscribing from a Bulk Email. The Group title will display to your unsubscribing email receipients if the Public fields are not filled out.
5. After filling out all the necessary information, select Save
6. Next, you will be prompted to add Contacts to the Group. However, simply navigate away from the page, as we will not add any Contacts to this blank Group yet.
7. Finally, navigate back to the Repeat Contributions Report that has been generated with the top donors for the previous calendar year. Now, we can select Add Contacts to Group. If needed, search for your newly-made Group
 Add Contacts to new Group
8. Select Continue to confirm the addition of these Contacts to the blank Group
 Confirm
Now, we can communicate with these top donors in unique and personalized ways:
Learn more about Bulk Emails in your DMS
Learn more about communicating with your donors in other ways